Saturday 28 March 2009

Continued...

The next major event was Meg's first 12-Car rally, which took place thanks to the Vickers Barrow Motor Club (http://www.vbmc.co.uk/). The car proved to be flawless throughout and we managed not to drop any time anywhere, which is a credit to dear Meg! We only had one near-miss which resulted from being blinded after hitting a flood at speed, and me not being able to find the wiper switch in time. However, luckily, we only grazed the hedge! (Incidentally, the Monte Rally Plates are from an event in December that I did with Peter Leary in a 1953 Standard 8!)
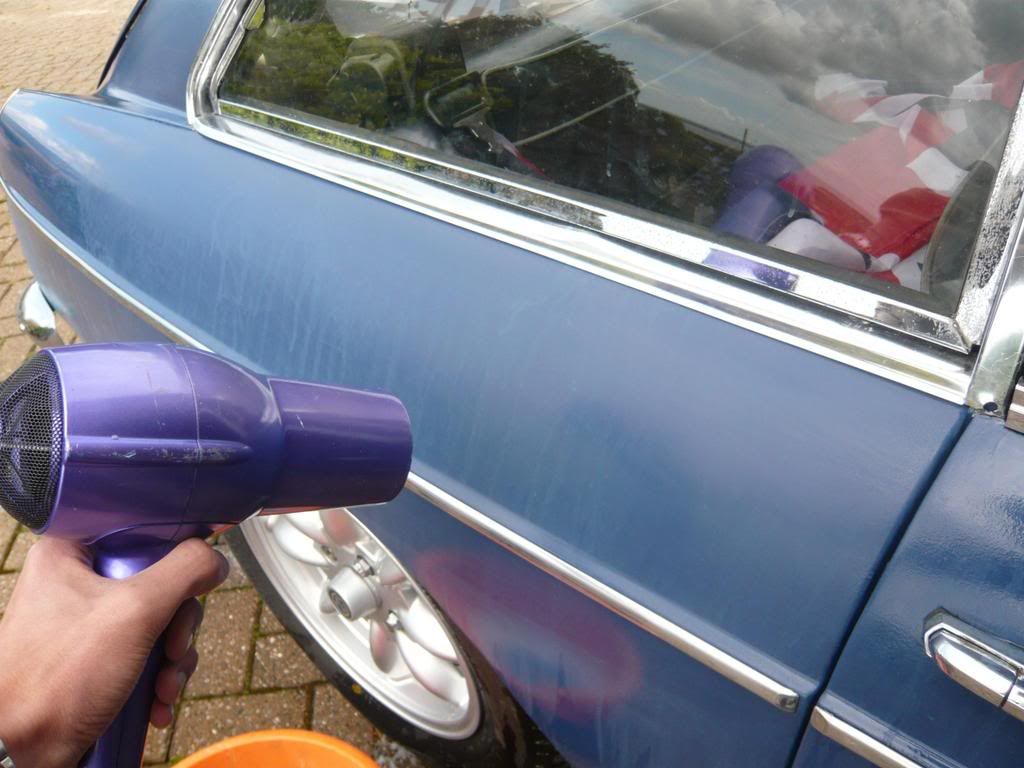
Here's how she looked after the event.. Those wires took a lot of cleaning!


Since then, not a huge amount has happened. It snowed, so I went out to play:


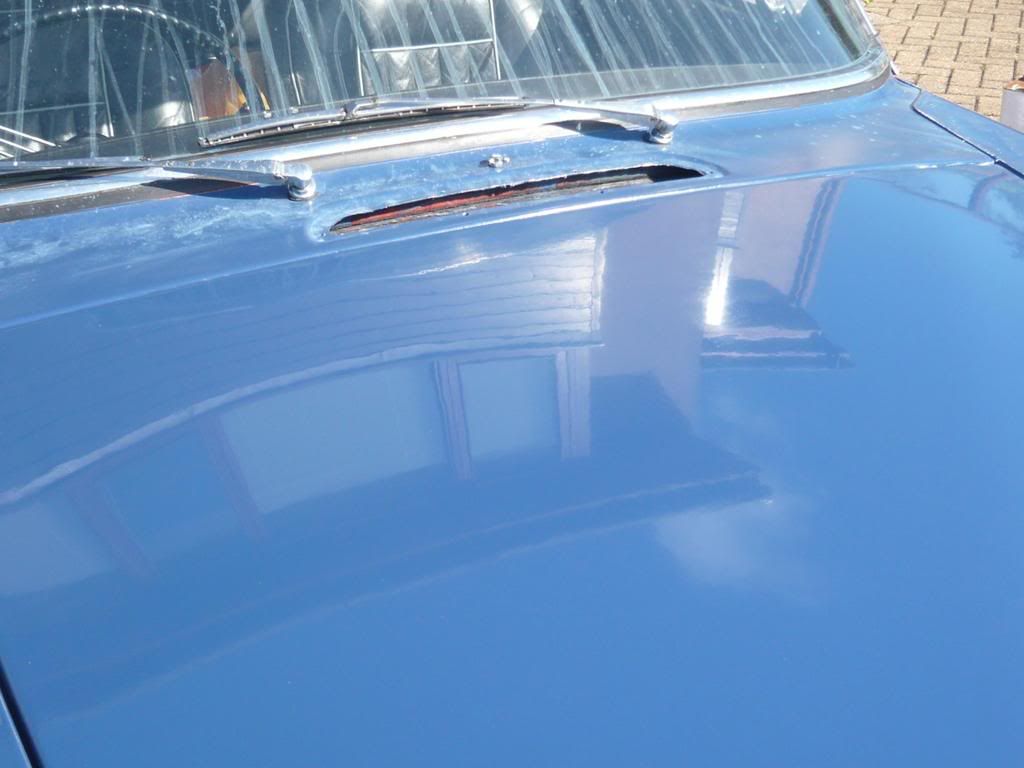
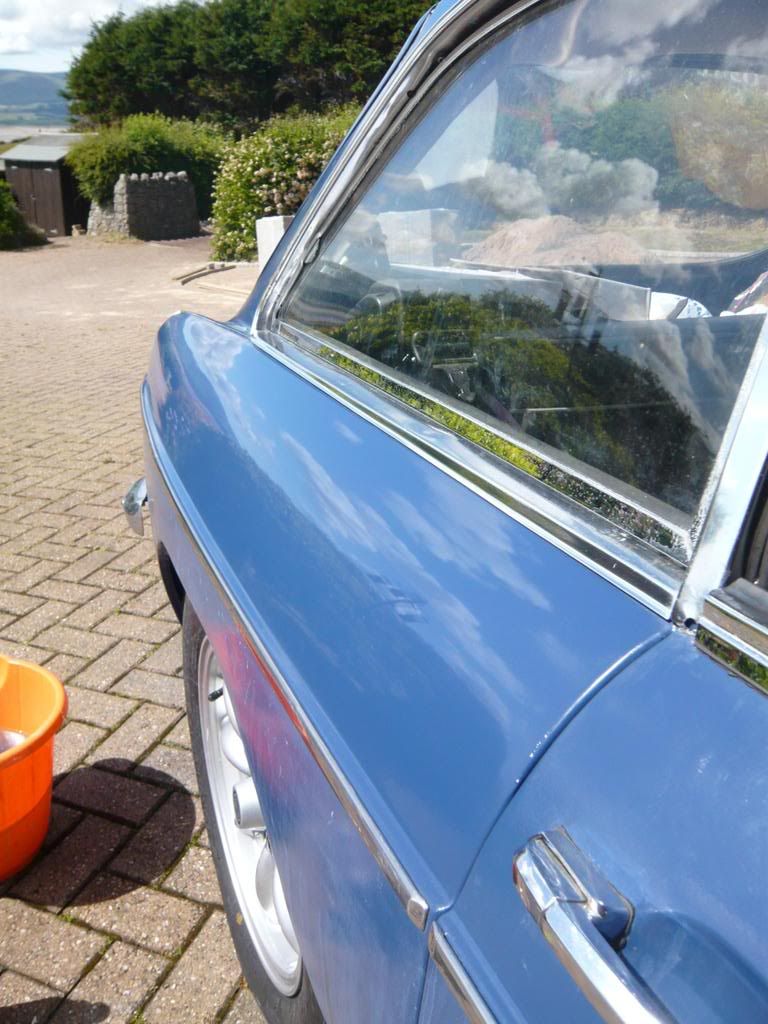
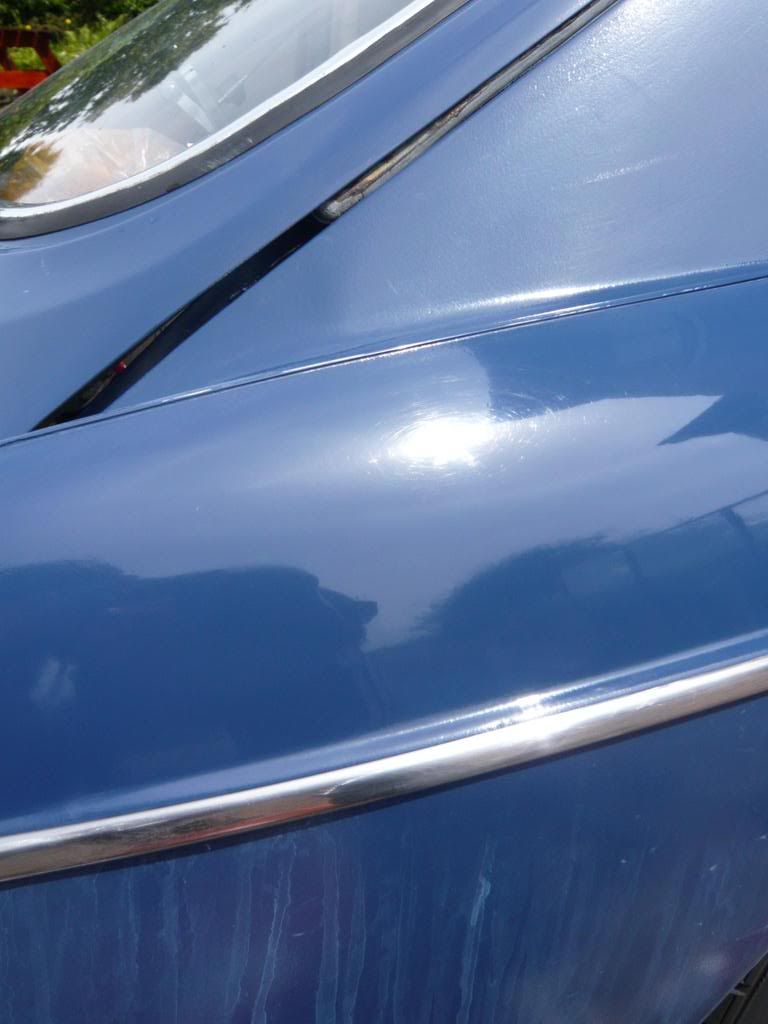
Then it was finally dry and sunny, so I went out to play even more:


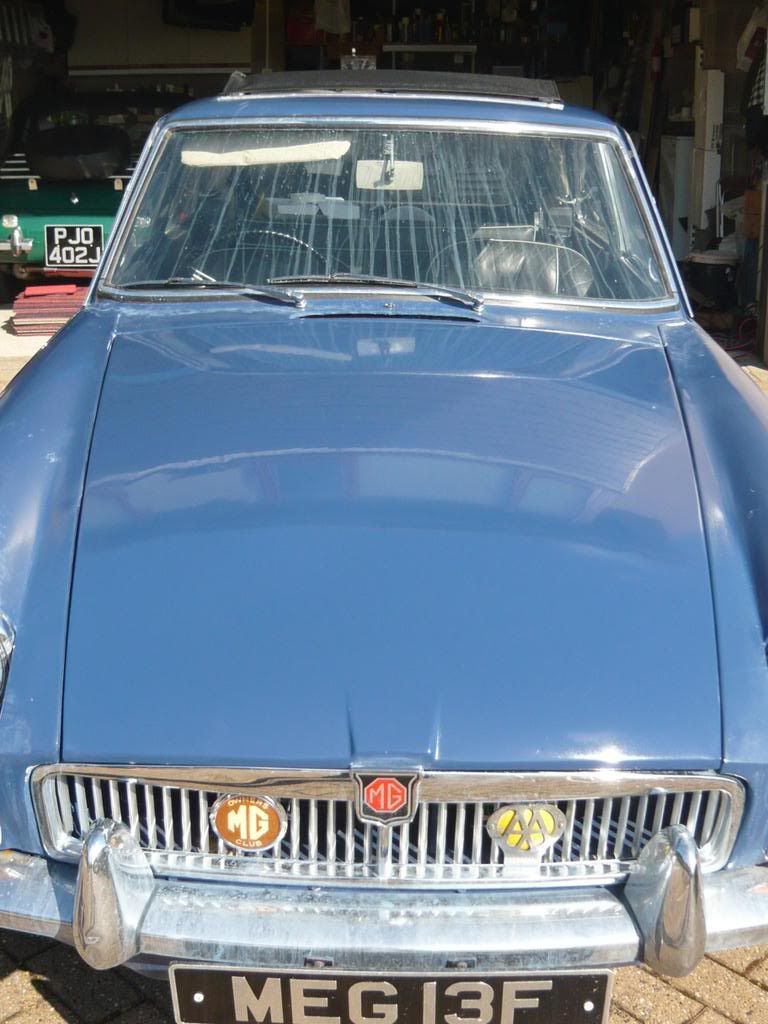
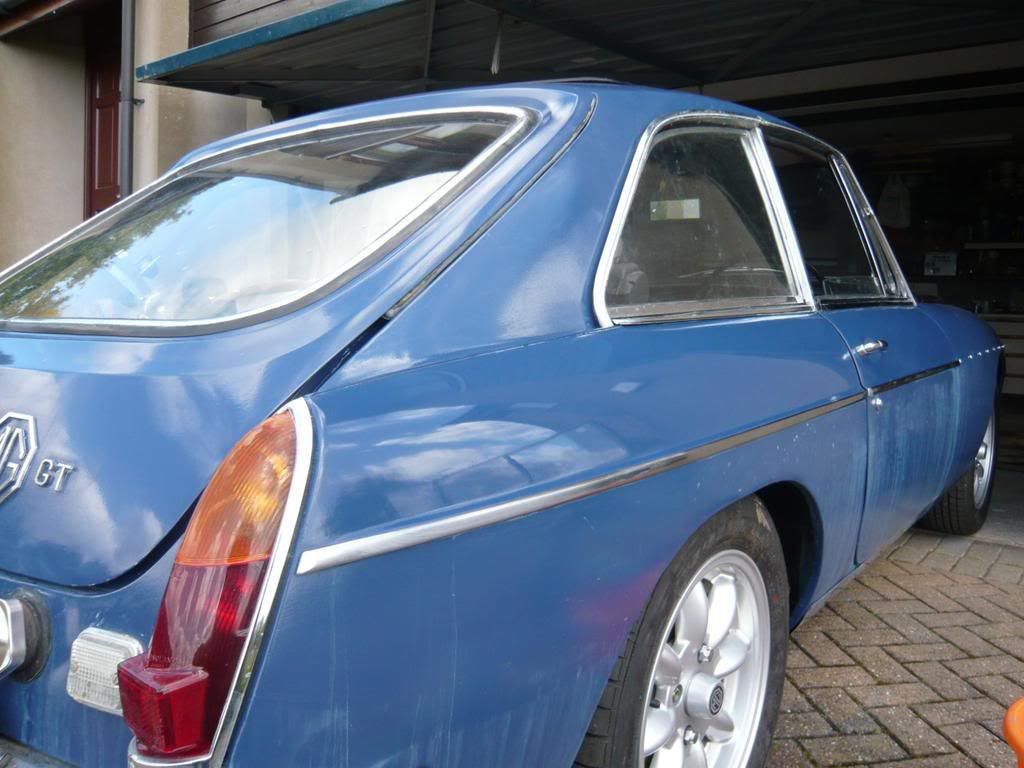
And finally, here are a couple of photos taken in front of my Grandmother's house... some rather nice surroundings, I'm sure you'll agree!


Anyway, that's about it for now, but I certainly hope to be posting more regularly!

Update!

Blimey, it's been nearly a year since I first set eyes on Meg!
Lots has happened since the wires went on. The next task was to underseal the underside. Previously the car had been painted underneath with Hammerite, the devil's paint. If you want an explanation why, just read Chris Perkins' blog!
A week was spent scraping off all the old hammerite, and filling my eyes with crap. Then, dashings of the new Dinitrol products were put on, and so far, it's proved excellent!


Anyway, as soon as this had been done, the MOT was booked. In true British-Car fashion, no end of problems occured the evening before the test. A sealed-beam unit failed, so one had to be stolen from the Midget; the brake lights failed, which resulted in faffing about with wiring for a long while; and the car started pouring petrol all over the ground, thanks to a dodgy fuel filler nozzle!


Anyway, the MOT went very well, with the car passing first time with no advisories. However, on her Maiden Voyage, the first time on the road in 30 years, we discovered some more minor problems. The timing was way out, and she was pinking like crazy, and she was refusing to start when warm, obviously because of the timing. However, the majority of things worked very well.


Now that the MOT was out of the way, I could start playing with exciting stuff! I decided to fit a pair of Lucas Flamethrowers to the front, which would prove to be incredibly helpful in 12-car rallies (see later on in the post!). This was the result:


Soon enough. my 17th Birthday came and went, and I managed to pass my test 20 days after my birthday. This meant that I could now be insured on the car through Footman James, and finally drive it on the road! Oh my, how much more fun it is than any modern hunk of junk!

After a few minor teething problems (to be expected after 30 years off the road!), all was well... for a while! The problems included a dodgy Dynamo Voltage Regulator, badly adjusted timing and carbs, along with other bits and pieces.

Anyway, have a few pictures taken in and around the Langdales a couple of days after I'd passed:

To be continued in the next post...

Monday 25 August 2008

Wire things sometimes difficult?

Well, the back axle has now been changed, along with new hubs on the front.

It's taken about 2 weeks worth of evenings; and that includes stripping down the new axle and repainting it, and undersealing the bits of the car that can't be accessed with the axle in place.
All that's left to do is re-bleed the brakes as they aren't very efficient at the moment (they take a couple of pumps to actually do anything); and buy/fit a new handbrake cable, as I didn't realise that they were of a different length to cars with steel wheels.

Anyway - what do you think?! Apologies, these pictures have just been taken after the car was driven out of the workshop into the rain; so she's not very clean AND is covered in water!


I think it makes a huge difference from what they used to be like:


The car now sits a lot lower as the wheels are 14" as opposed to the 15 inch rims she was previously on: the car now looks a lot more sporty as she's so much lower!


Ooh and another thing; all of the side trims are now fitted, so on the whole, the car looks a lot more complete!

Recent Progress

Well, I've done quite a bit since the last blog actually. I've finally peeled my orange and the car is now looking alot better, although there are a few patches that could do with another going over. I've aligned the passenger door, so that now fits as flush as it can. I've had the bumpers and valance off, and have u/sealed all atound the inaccessible areas. Sadly though, I don't have any pictures of the finished article, because as soon as I'd finished it, the car was driven into the garage;jacked up, and work has started to replace the back axle! I'll be keeping you up to date with that, and will post here again soon I hope!

Monday 21 July 2008

Whoa, we're half way there!

Haven't had much time to do much in the past few weeks, but I've just about finished one side of the car - I only have the passenger door, passenger wings and roof to do and she's finished!

Here's how she looks at the moment:

I've also started to prep the new back axle to put on - so far it's been stripped down and painted, and I've hopefully ordered everything I need for the conversion.
Anyway, that's enough waffling on for now - I'll update when there's some news!

Sunday 22 June 2008

More wristache...

Yes, I resorted to a bit of sandpaper under a polisher today, and I've done the bonnet. However, the results again speak for themselves... Maybe another quick go with the 1500 will perfect everything, but it's looking pretty good as it is! I'm inspired to do the rest now.... It's a hell of a long way from being finished!


Peeling Oranges hurts the wrists!

The first thing I've done to the car since my exams finished on Friday is started to get rid of some of this blimmin' orange-peel effect on the paintwork. After receiving much assistance from a variety of sources (including here!), I set about very gingerly. The things I've used so far in the process:

-Wet 'n' Dry paper (1200 and 1500)
-a very strong cutting compound and Autoglym Ultra Deep Shine
-a hairdryer (to speed up the drying of the water!)

Anyway, I started by rubbing down a small hidden section with 1200 followed by 1500, and then cut and polished it out. This went very successfully, so I moved to the visible sections! The results speak for themselves:

Before:

During:
After!


Sunday 8 June 2008

Friday 6 June 2008

She's Alive!

Result! After several hours of tinkering, she's alive! I spent this afternoon replacing batteries, draining fuel, sorting out a sticky solenoid, adjusting plug and point gaps, checking there was a spark for each cylinder, turning the engine by hand, singing 'MGB GT' by Richard Thompson very loudly and annoying the neighbours, and doing a variety of other bits and bobs.

However, for some reason, the engine was turning but just not managing to kick. I decided to give up, and came in for a 'cuppa. Went back a couple of hours later to lock up and decided to give it another bash. Hey presto! A running engine! It's running very ropily of course, but hey, it's going, and sounds beautiful! An update on the situation will follow soon!


Monday 2 June 2008

You'll give me a 'grilling' for this...

You'll ridicule me when you find out that all I've done so far since she's got home is stick the new grille on.... However, the car looks much less of a 'project' now, and much more of a 'car'. I had to remove the overriders before being able to get the grille in, that went without any problems. Here's how she looks now:


Apologies for the bad photos, they won't get much better 'til she's mobile and out of the garage!
But that's not all that I've done... I've taken the batteries out and undersealed all around where they sit, I just have to buy some new ones, and we're getting close to having her running!

I've also cleaned half of the interior up a little; it's coming up a treat - I'll let you see once it's all done!

Saturday 31 May 2008

She's home!

She's almost ready to go on the trailer... notice the skidmarks!
Well, we went off to pick up the GT this morning. We arrived bright and early, about 8.30. We assessed what our plan of action for removal was to be. First of all, we tried dragging the car to see if the brakes would free off... this, however was not to be! We then went about jacking the car up to free off the brakes. The front ones moved with no problems, and after freeing off the adjuster on the rear ones, the car was moving!

Packed up and ready to go
We sorted through the spares that came with the car - I now have a complete gearbox, along with endless other spares - two grilles, 4 disc wheels and hubcaps, a set of Works headlamp cowls, side chrome trims, and various other assorted bits. After a bit of rolling backwards and forwards, we got the car just about in line with the trailer, and pushed it on.

We stopped on the way home to give her a quick powerwash down, and this got rid of some of the surface dirt to save her sitting in the garage at home until she was mobile.

Home sweet home... Who could ask for a better garage?

Just look at those spares! Those shelves were almost empty yesterday, never mind the floor!

The engine turns freely, and I've stuck some oil in the bores - I'll continue to do this for the next few days, and possibly we'll have her running by the end of next week! I'll have to get a couple of batteries sorted first, mind...

Monday 26 May 2008

Time is Fleeting.....

Well, Megan's arrival is getting closer, which of course means that my GCSEs are coming to a close! Wahoo!

As I've already mentioned, the car is fitted with KN Minator Minilite replicas. However, I'm not a huge fan of these as every classic car seems to have them, so I plan to do a wire wheel conversion. I've been collecting bits and bobs to do this job. So far, I have:
  • A wire wheel axle, as these differ from the normal bolt-on wheel axles - I've managed to find one free of charge: many thanks to Ian Helsby for supplying that!
  • 4 Chrome wire wheels and tyres: many thanks to Ged West for his extreme generosity. They'll be winging their way towards here sometime in the next week.
  • 4 Two-Eared Spinners, courtesy of eBay.

All I need now are the hubs (I can get a brand new set of four for around £150), and brake bits for the axle, along with any other bits and bobs that may be needed...


Mmmmmm.... Shiny!

I've also been on the lookout for something to play my groovy tunes on while in the car. Once again, a search on eBay revealed something to suit my needs perfectly. This is in the form of a Motorola Model 114 LW/MW Radio, with an auxhiliary input for an MP3 Player. This means I can have any tune I want at all, without having to worry about CDs, or radio reception. The style of the radio also fits in well as it's from the time of the car.


Also on my shopping list are:

  1. A new set of hoses and bushes all round, as the ones on the car will no doubt have perished.
  2. Brake parts, just to be on the safe side
  3. Everything that will be needed for initial startup: these include Oil, Coolant, Petrol and more!
  4. Side moulding clips, as there are some missing - however, the car comes with a brand new set of chrome side strips along with the grille.
  5. Possibly a Carburettor service kit
  6. A 6x4' Union Jack for the back seat, just so I can be like Chris (heheh!)
  7. A small metal Union flag for the dash
  8. Some engine paint, just to sort out a couple of rust issues!
  9. An oil filler cap, as the other one was used as a substitute for something else a couple of months ago.